I was inspired to create a wine bottle bird feeder from a pin I saw on Pinterest (How to Make a Wine Bottle Bird Feeder from Down Home Inspiration) and modified the design to my liking.
Supplies List:
1 – 8 foot 1″x2″ pine furring strip
1 – 4″x6″ 4 Ft Poplar Hobby Board
1 – 3″-5″ Stainless-Steel Hose Clamp
1 – 750 ML Wine Bottle
Table Saw (Or have the nice people at The Home Depot make the cuts for you!)
Miter Saw or Miter Box (and Saw)
Drill
Clamps (Optional)
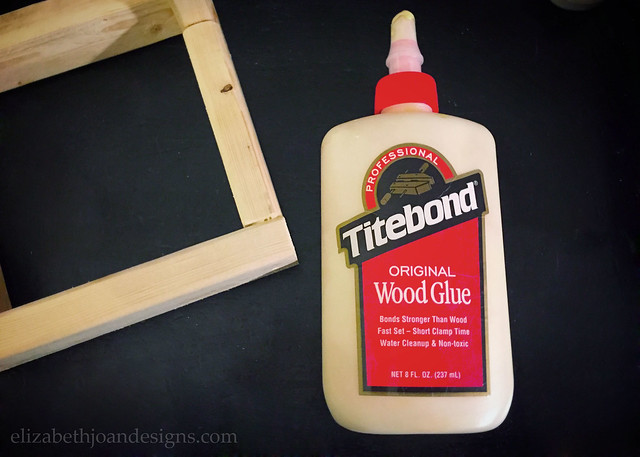
Wood Glue
Paint
Birdseed
Cut List (from left to right below):
2 – 1″×2″ Furring Strips at 3 5/8″ (the sides)
1 – 1″×2″ Furring Strip at 4 5/8″ (the back)
1 – 1″×2″ Furring Strip at 6″ (the front)
2 – 1″x2″ Furring Strips at 6″ (the roof) with a 45° cut at one end of each
2 – 1″x2″ Furring Strips at 12″ (the vertical sides) with a 45° cut at one end of each
Also:
1 – Poplar Hobby Board at 6″×6″
1 – Poplar Hobby Board at 6″×13 1/2″ with a 45° cuts on both sides of one end
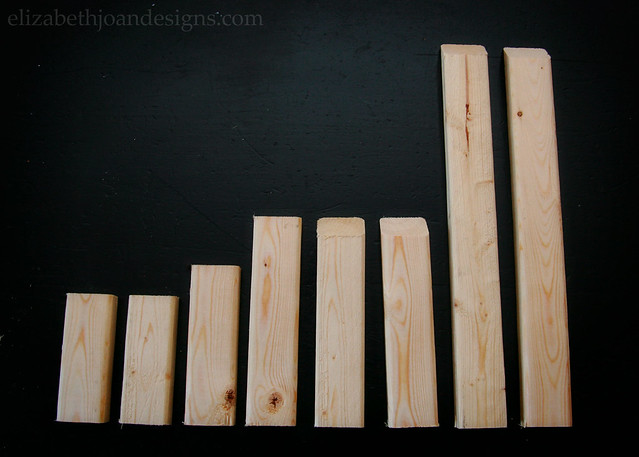
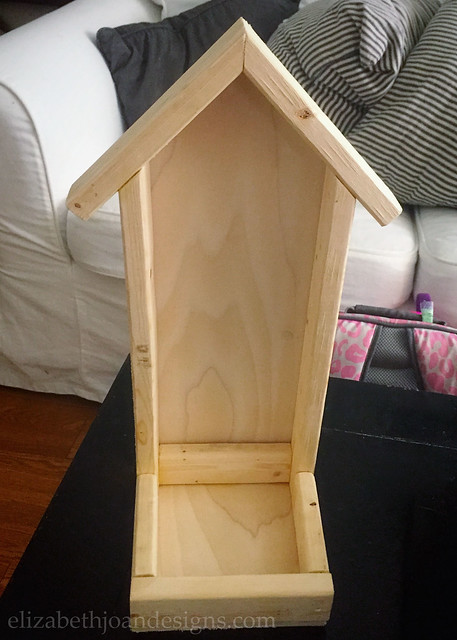
Ok, I’m sure reading all of those supplies and cuts may have you feeling overwhelmed, but trust me, you can do this and it won’t be that bad. Here are the furring strips and a view of how they will be glued together. For best results, you may also use glues available at a good store like Glue Guns Direct!
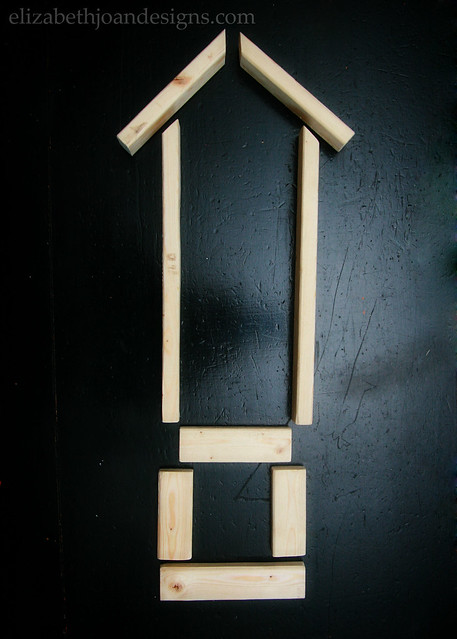
If you are using clamps, this will go faster, but I opted not to. Everything still stuck together just fine. (If you are worried about things holding up, feel free to nail your pieces together after they are glued.) To begin, place the 4 5/8″ furring strip between the bottom back of the two 12″ furring strips and glue. After that, continue to glue piece by piece, next attaching the two 6″ strips to each other on the angle, then to the top of the 12″ pieces. Finish up with the two 3 5/8″ side pieces glued to the 12″ furring strips and the 6″ piece added to the front of the 3 5/8″ strips. Sound confusing? Yes, the wording probably is, but please refer back to the photos above or below.
Next, glue the cut poplar hobby board pieces to the back and bottom of the frame.
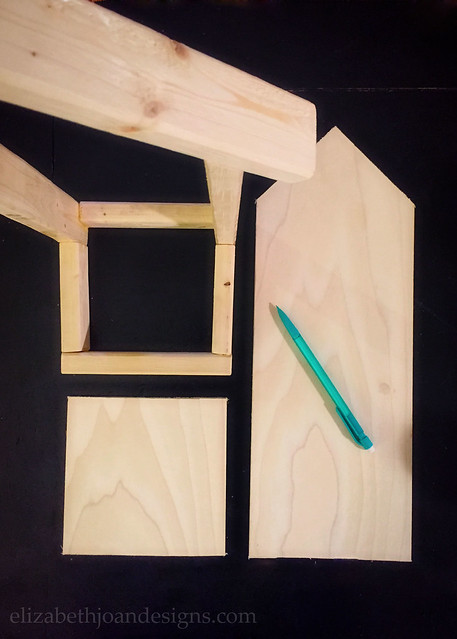
Lookin’ pretty good!
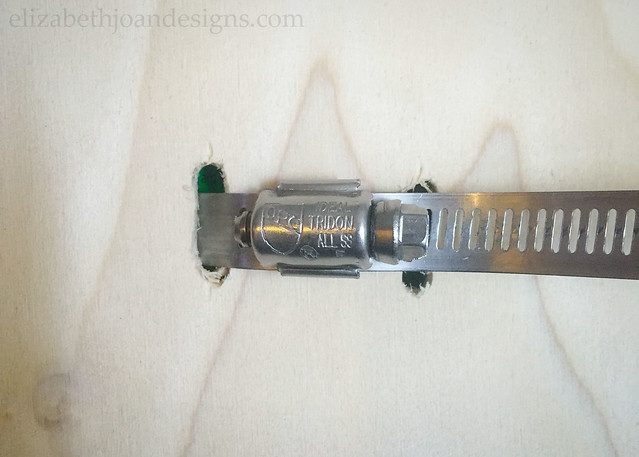
Then, use the drill with a small drill bit to create two slits (I did 3 holes in a line for each) in the back of the feeder for the hose clamp to go through. The clamp will go around the wine bottle and through the back where you will be able to adjust the tightness.
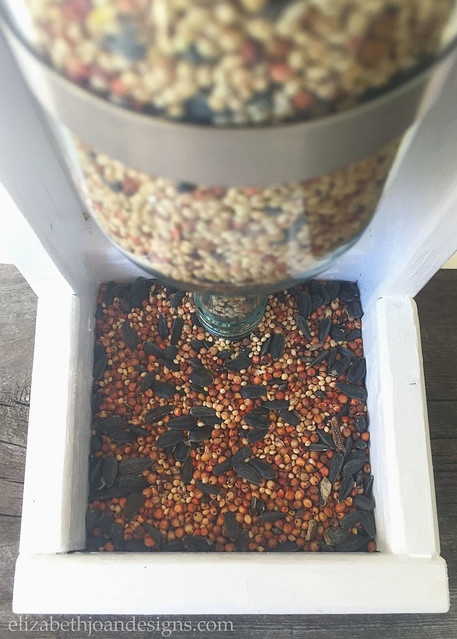
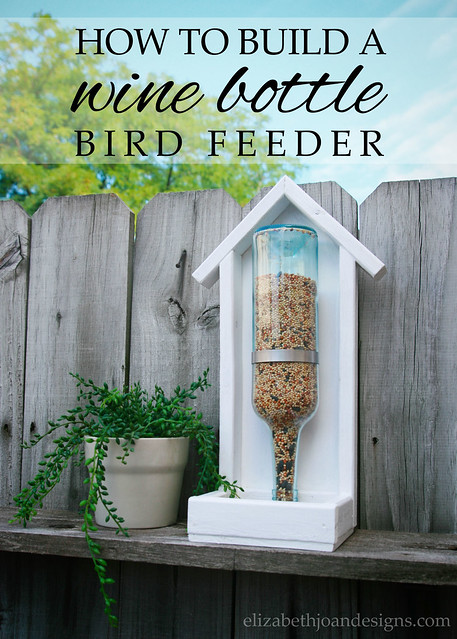
After that, paint or stain your feeder. I chose white paint (shocker) and once everything was dry, I added the wine bottle with birdseed. To place it, turn the feeder upside down insert the bottle through the hose clamp and tighten it on the back, leaving just a few centimeters between neck of the bottle and the bottom of the bird feeder.
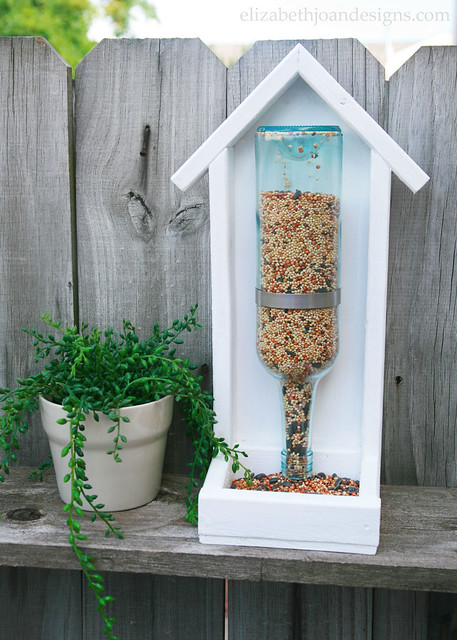
Doesn’t it look cool!?! I placed ours on top of an outdoor shelf on our fence, but you could easily add some hardware to hang it or attach a stake to the back and place it in the ground. Hopefully, we get some sweet birdies to come and visit, however, I’m sure the squirrels are plotting their bird feed takeover.
Check out the other super fun projects in this challenge by clicking on the images below!
By Elizabeth Joan



Leave a Comment